
728x90
Arduino nano 33 IOT - 개발환경 설정
이 예에서는 beginAP( ) 함수를 사용하여 로컬 WiFI 네트워크에 의존하지 않고 액세스 포인트를 설정합니다. 이 예제는 WiFi 모듈의 IP 주소를 Arduino 시리얼 모니터에 나타냅니다. 보드의 IP 주소를 알고 나면 웹 브라우저에서 해당 주소를 열어 Nano 33 IoT 보드의 13번 BuilrIn LED를 켜고 끌 수 있습니다. 보드의 IP 주소가 192.168.x.x 인 경우 :
http://192.168.x.x/H는 LED를 켭니다.
http://192.168.x.x/L는 LED를 끕니다.
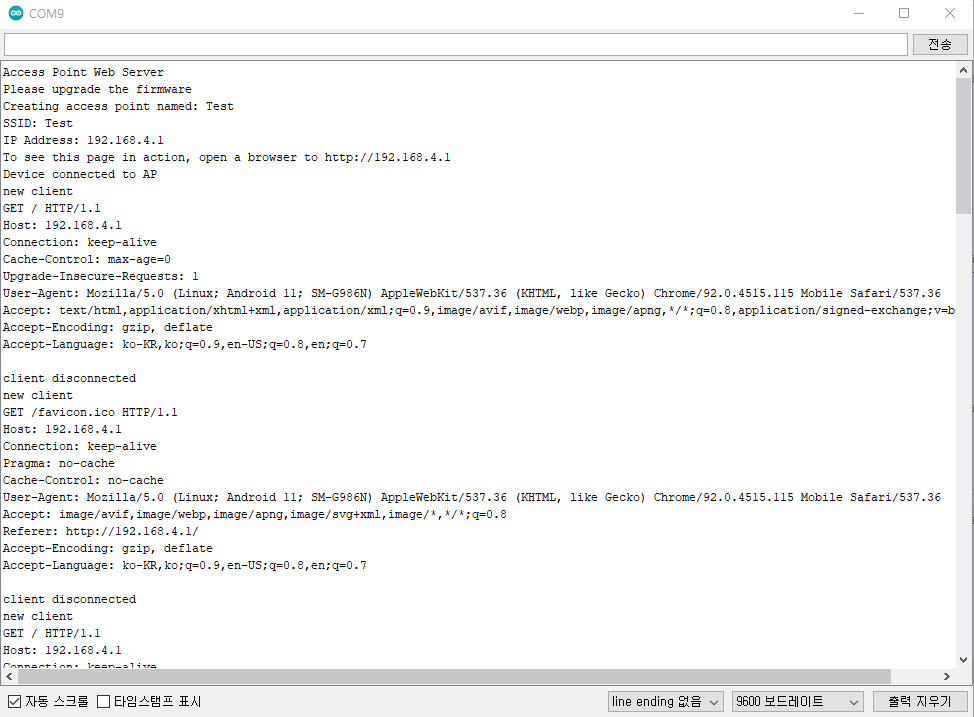
서버로 동작하는 시리얼 모니터 화면은 다음과 같습니다.

아래 소스코드를 보면 arduino_secret.h 에 WiFi의 ssid와 password를 넣습니다.
#define SECRET_SSID ""
#define SECRET_PASS ""
사용 예제는 아두이노 IDE에서 파일 -> 예제 -> WiFiNINA -> AP_SimpleWepServer 입니다.
#include <SPI.h>
#include <WiFiNINA.h>
#include "arduino_secrets.h"
///////please enter your sensitive data in the Secret tab/arduino_secrets.h
char ssid[] = SECRET_SSID;        // your network SSID (name)
char pass[] = SECRET_PASS;    // your network password (use for WPA, or use as key for WEP)
int keyIndex = 0;                // your network key index number (needed only for WEP)

int led =  LED_BUILTIN;
int status = WL_IDLE_STATUS;
WiFiServer server(80);

void setup() {
  //Initialize serial and wait for port to open:
  Serial.begin(9600);
  while (!Serial) {
    ; // wait for serial port to connect. Needed for native USB port only
  }

  Serial.println("Access Point Web Server");

  pinMode(led, OUTPUT);      // set the LED pin mode

  // check for the WiFi module:
  if (WiFi.status() == WL_NO_MODULE) {
    Serial.println("Communication with WiFi module failed!");
    // don't continue
    while (true);
  }

  String fv = WiFi.firmwareVersion();
  if (fv < WIFI_FIRMWARE_LATEST_VERSION) {
    Serial.println("Please upgrade the firmware");
  }

  // by default the local IP address will be 192.168.4.1
  // you can override it with the following:
  // WiFi.config(IPAddress(10, 0, 0, 1));

  // print the network name (SSID);
  Serial.print("Creating access point named: ");
  Serial.println(ssid);

  // Create open network. Change this line if you want to create an WEP network:
  status = WiFi.beginAP(ssid, pass);
  if (status != WL_AP_LISTENING) {
    Serial.println("Creating access point failed");
    // don't continue
    while (true);
  }

  // wait 10 seconds for connection:
  delay(10000);

  // start the web server on port 80
  server.begin();

  // you're connected now, so print out the status
  printWiFiStatus();
}


void loop() {
  // compare the previous status to the current status
  if (status != WiFi.status()) {
    // it has changed update the variable
    status = WiFi.status();

    if (status == WL_AP_CONNECTED) {
      // a device has connected to the AP
      Serial.println("Device connected to AP");
    } else {
      // a device has disconnected from the AP, and we are back in listening mode
      Serial.println("Device disconnected from AP");
    }
  }

  WiFiClient client = server.available();   // listen for incoming clients

  if (client) {                             // if you get a client,
    Serial.println("new client");           // print a message out the serial port
    String currentLine = "";                // make a String to hold incoming data from the client
    while (client.connected()) {            // loop while the client's connected
      delayMicroseconds(10);                // This is required for the Arduino Nano RP2040 Connect - otherwise it will loop so fast that SPI will never be served.
      if (client.available()) {             // if there's bytes to read from the client,
        char c = client.read();             // read a byte, then
        Serial.write(c);                    // print it out the serial monitor
        if (c == '\n') {                    // if the byte is a newline character

          // if the current line is blank, you got two newline characters in a row.
          // that's the end of the client HTTP request, so send a response:
          if (currentLine.length() == 0) {
            // HTTP headers always start with a response code (e.g. HTTP/1.1 200 OK)
            // and a content-type so the client knows what's coming, then a blank line:
            client.println("HTTP/1.1 200 OK");
            client.println("Content-type:text/html");
            client.println();

            // the content of the HTTP response follows the header:
            client.print("Click <a href=\"/H\">here</a> turn the LED on<br>");
            client.print("Click <a href=\"/L\">here</a> turn the LED off<br>");

            // The HTTP response ends with another blank line:
            client.println();
            // break out of the while loop:
            break;
          }
          else {      // if you got a newline, then clear currentLine:
            currentLine = "";
          }
        }
        else if (c != '\r') {    // if you got anything else but a carriage return character,
          currentLine += c;      // add it to the end of the currentLine
        }

        // Check to see if the client request was "GET /H" or "GET /L":
        if (currentLine.endsWith("GET /H")) {
          digitalWrite(led, HIGH);               // GET /H turns the LED on
        }
        if (currentLine.endsWith("GET /L")) {
          digitalWrite(led, LOW);                // GET /L turns the LED off
        }
      }
    }
    // close the connection:
    client.stop();
    Serial.println("client disconnected");
  }
}

void printWiFiStatus() {
  // print the SSID of the network you're attached to:
  Serial.print("SSID: ");
  Serial.println(WiFi.SSID());

  // print your WiFi shield's IP address:
  IPAddress ip = WiFi.localIP();
  Serial.print("IP Address: ");
  Serial.println(ip);

  // print where to go in a browser:
  Serial.print("To see this page in action, open a browser to http://");
  Serial.println(ip);

}
코드를 컴파일, 업로드하여 실행하면 웹 서버 IP가 나오게 되고 , 웹 브라우저에서 서버주소를 접속하면 매뉴얼 화면이 보입니다. 스마트 폰으로 http://192.168.4.1으로 접속하면 다음과 같은 스마트 폰 연결 화면이 나옵니다.
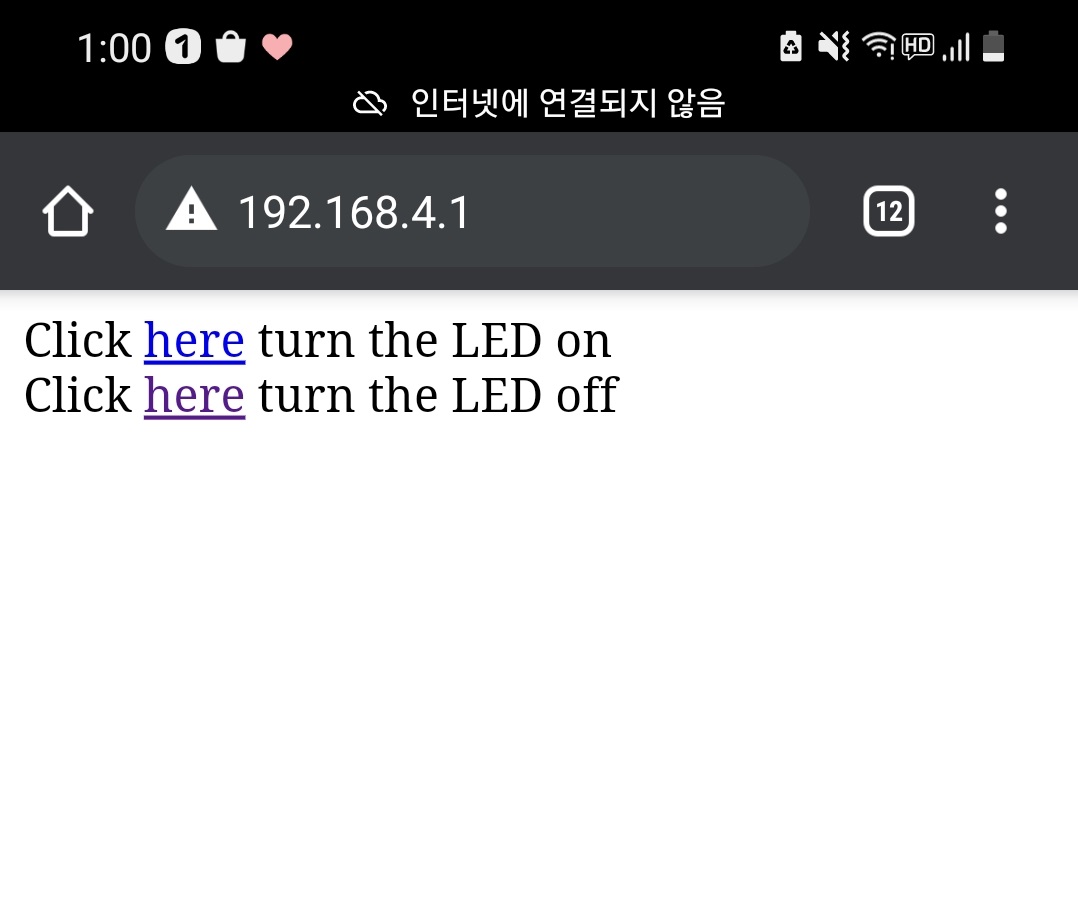
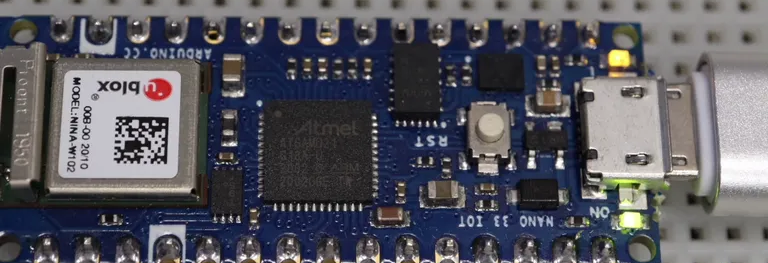
스마트 폰에 연결해 here을 누르게 되면 화면과 같이 출력이 되고 아두이노를 확인해보면
아두이노 보드의 LED의 점멸동작을 확인할 수 있습니다.
WiFi STA Mode 방법
728x90
'Arduino' 카테고리의 다른 글
| Arduino nano 33 IOT (0) | 2021.09.05 |
|---|---|
| Arduino nano 33 IOT - 개발환경 설정 (0) | 2021.09.05 |
| Arduino nano 33 IOT - WiFi 연결 (STA Mode) (0) | 2021.09.04 |
| Arduino nano 33 IOT - WiFi를 통한 MYSQL 연결 (0) | 2021.09.04 |
| Arduino Nano 33 IOT - AWS IoT Core 연결 (2) (0) | 2021.08.22 |